Before You Even Buy a Single Post
Alright, so you're thinking about a vinyl fence. Good choice, they're low maintenance and look sharp for years, especially with our Rapid City weather. But before you even look at a single panel, you've got some homework to do. This isn't like hanging a picture; there are rules and practicalities you can't ignore.
First up, know your property lines. I can't stress this enough. You don't want to spend a weekend digging post holes only to find out half your fence is on your neighbor's land. Get a survey if you're not absolutely sure. It's way cheaper than moving a whole fence later. Trust me, I've seen it happen.
Next, check with your HOA if you have one. Most HOAs in areas like Sheridan Lake Road or Arrowhead will have specific rules about fence height, color, and even material. You don't want to put up a beautiful white vinyl fence only to be told it needs to be tan or only four feet tall. Get approval in writing.
Then, permits. Yep, you'll likely need one from the City of Rapid City. It's usually a straightforward process, but you need to factor in the time it takes. They'll want to see a site plan showing where the fence goes. Don't skip this; fines are no fun.
And the big one: call 811 before you dig! This is non-negotiable. They'll mark out underground utilities like gas, water, sewer, and electrical lines. You hit one of those, and you're looking at serious trouble, not just a busted fence project. It's free, it's easy, and it's the law.
Finally, measure everything twice, order once. Vinyl fence kits come in standard sections, but your yard probably isn't perfectly divisible by those sections. You'll need to figure out your gate placement, corner posts, and how you'll handle any slopes. Don't just eyeball it. Sketch it out, measure, re-measure, and then add a little extra for cuts and mistakes. It's better to have a bit too much material than not enough.
The DIY Installation: What You're Up Against
Okay, you've got your permits, your lines are marked, and your materials are stacked. Now for the actual work. Can you do this yourself? Absolutely, if you're handy, have the right tools, and a good helper or two. But it's not a walk in the park.
Here's what you'll be doing:
- Laying out your fence line: Use string lines and stakes to get everything perfectly straight. This is crucial for a professional-looking fence. A slight wobble here will be glaring once the panels are up.
- Digging post holes: This is where the real work starts. In Rapid City, our soil can be pretty rocky, especially if you're up in the Black Hills foothills. A post-hole digger is essential, but you might even need an auger or a digging bar for those stubborn rocks. Your holes need to be deep enough for stability – usually a third of the post's length, plus a few inches for gravel, and wide enough for concrete.
- Setting posts: This is the most critical step. Each post needs to be perfectly plumb (straight up and down) and at the correct height. You'll use gravel for drainage at the bottom of the hole, then concrete to secure the post. Brace them while the concrete sets. If your posts aren't right, your whole fence will look crooked and won't be as strong.
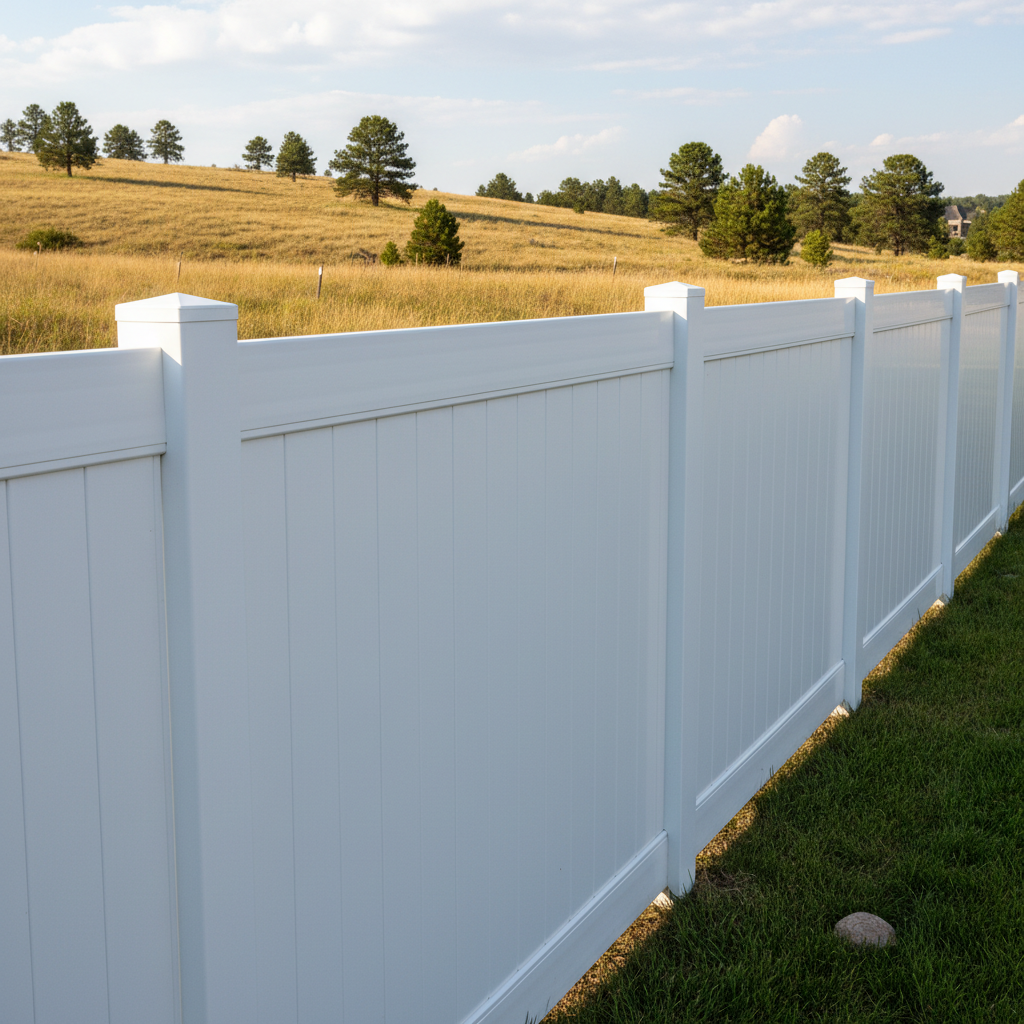
- Assembling panels: Vinyl fence panels usually snap together pretty easily. This is the satisfying part where you start to see your fence take shape. Make sure everything is level as you go.
- Cutting panels: You'll almost certainly need to cut some panels to fit. A miter saw with a fine-tooth blade works best for clean cuts on vinyl. Measure carefully before you cut!
When to call a pro: Look, if digging post holes sounds like your worst nightmare, or if your yard has significant slopes that require specialized panel adjustments, don't be afraid to call Alpha Fencing Co. or another local expert. We've got the right equipment for digging through tough ground, and we deal with uneven terrain all the time. Sometimes, saving your back and ensuring a perfectly installed fence is worth the investment.
After the Last Post is Set
So, you've done it! Your vinyl fence is up and looking great. The best part about vinyl is how little maintenance it needs. You won't be painting or staining this bad boy.
However, a few things to keep in mind:
- Cleaning: Every now and then, especially after a dusty Rapid City spring or a particularly muddy summer storm, your fence might get a little grimy. A simple spray with a garden hose usually does the trick. For tougher spots, a mild soap and water solution with a soft brush will clean it right up. Avoid harsh chemicals or abrasive scrubbers, as they can dull or scratch the vinyl.
- Inspecting for damage: While vinyl is tough, it's not indestructible. Keep an eye out for any cracks, loose caps, or panels that might have come dislodged, especially after a really strong windstorm. It's rare, but it can happen. Catching small issues early makes them easier to fix.
- Gate hardware: Your gate hinges and latches might need a little lubrication every year or so to keep them operating smoothly. A silicone spray works well.
That's pretty much it for vinyl. You've got a fence that'll stand strong for years with minimal fuss. Good job getting it done!